Showing posts with label sewing. Show all posts

Thursday, August 11, 2011

Ready for a Road Trip? Retro Style!

I love road trips - especially the kind that involve rockin' music, (might I suggest a little Sam Bradley anyone?) good friends and the anticipation of discovery!
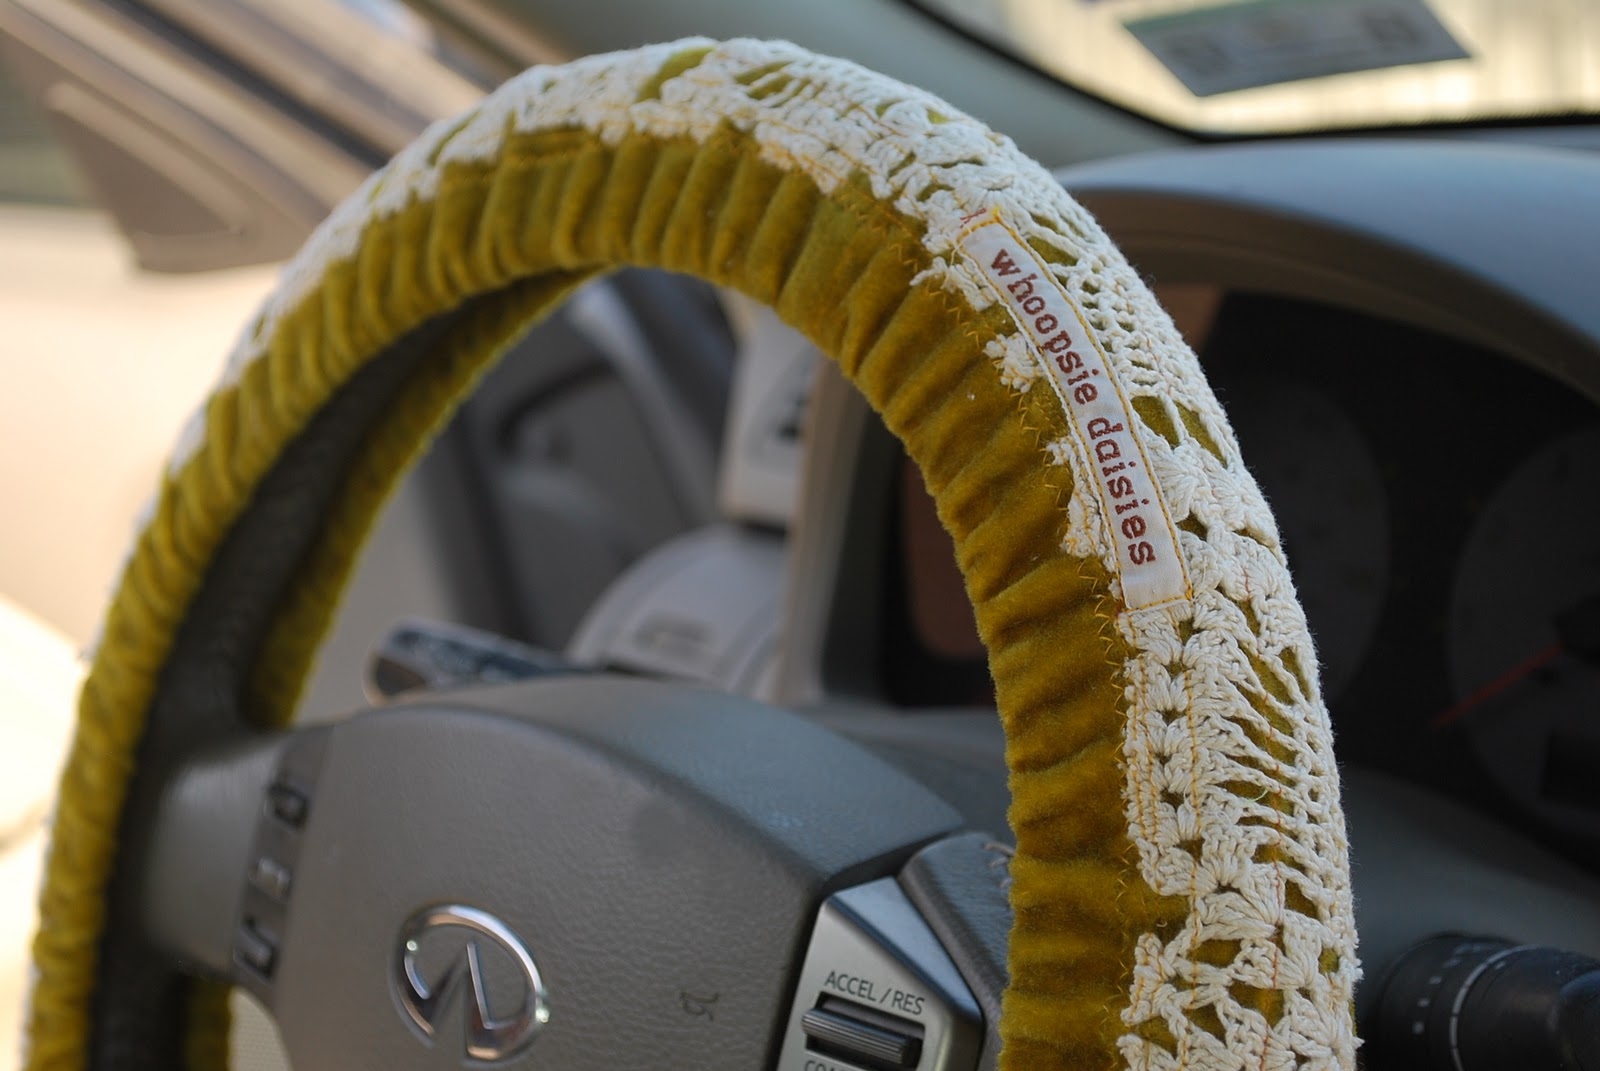
So - I decided to expand the retro goodness beyond your standard steering wheel cover (because everyone already has one of those, right? (no? well then....).
In honor of my sister's birthday a few weeks ago (yep, I like to extend the birthday celebrations and send gifts after the actual celebratory day - you know, just to spread out the love (maybe a smidgen b/c I'm a scattered brained mom too, but don't tell her!  Second thought - she'd totally understand.  She's running her own amazing photography business & chasing 3 little ones around too - so, I digress....) back to the goods!)

Here you have Whoopsie Daisies luggage tags and handle cover! Because you never want your luggage to look like everyone else's! (Just ignore the fact that if you're lugging around this huge, heavy vintage suitcase, no one in the airport is going to have one like it anyway - makes for a cute picture tho, huh?) 
 In all seriousness though - I do love these.  I'm always wrapping bright ribbon around the handles of my boring black suitcase when we fly, so that I can easily spot my bag coming down the luggage ramp.  I'll be making a ton more of these for sure!  


Here is a little make-up bag I made for my sis too  - I'm especially loving the gray/yellow combination here!  


Then, because you want your car decked out in retro style - we have the rearview mirror cozy....


and.... the Steering Wheel cover.  (don't worry, if you're brother in law is not so inclined to drive the mini van around with a floral steering wheel cover  - like someone I know!) - it slips off quite easily and stuffs into the glove compartment.


Happy Road Trippin'!  Hope you're able to squeeze in one or two last trips for the summer!

  Psssstttttt!  Come find me on Twitter!  We'll have fun!  Are you the Facebook sort? 


Monday, May 23, 2011

French Lavender Sachets

Like many of you, I can't stand throwing away any "usable" (pretty loose, negotiable term in my sewing room!) piece of fabric.  Particularly those that are most vintage-y and retro-y.  I can't remember why, but for some reason, I decided to go on a hunt for dried lavender so that I could make sachets from my little teensie tiny pieces.   I also decided to quilt pieces together using 3x3" squares - I like the looks of them quilted, but also - I can use up pieces of fabric that are 3x3"!  (pretty small) - you would think that I could then throw away those bits that are smaller, right?  Hmmm.... well - we'll see.  (that's what I say to my kids when what I really mean is "No").
I wound up purchasing from an Etsy seller - PopKo - and I love this stuff!  I've made several sets of sachets and plan to list them in my Whoopsie Daisies shop as well as give them as gifts.  I've also realized that they are great in the dryer, leaving clothes with a soft lavender scent (not the chemically scents from regular dryer sheets).


So, now my radar is on anything "lavender" scented.  My Yoga instructor uses the most calming combination of lavender and mint oil that I'd love to have in my nostrils all day long.  Still looking for a good lavender candle, but haven't found one yet.

Friday, March 11, 2011

BIrds for Spring

As the Half Price Sale (aprons, pajama pants, scarves, & kitchen hot pads still available) continues to slim down the Whoopsie Daisies Etsy shop, I've been adding some new Tooth Fairy Pillows to fill in the slots.  
Whoopsie Daisies is going in the direction of all Personalized Tooth Fairy Pillows.  I'm in love with all of the bird themed items popping up all over this spring - so thought I'd add my own items to the mix.  
These make great birthday gifts for a wide age range of kiddos.  Even great for new baby gifts.  Personalize them with the child's name and you have a one of a kind gift!  
Hope you likey :)

Thursday, February 3, 2011

Personalized Vintage Tooth Fairy Pillows

Whoopsie Daisies is Vintage Personalized Tooth Fairy Pillows.  
 Wasn't hard to figure that one out, huh?  I'm very excited to have a main focus as well as a streamlined production system.  With all of the changes taking place in my household, I think this new direction will be one I'm very happy with.

 Will you help me to spread the word?  Find Whoopsie Daisies on Etsy, Facebook, and Twitter!


 This last picture is an example of the name added to the pillow.  (in honor of my BEST customer ever!)
Thanks for all of your support!!!!

Monday, November 29, 2010

It's Cyber Monday Time at Whoopsie Daisies~

Whoopsie Daisies Cyber Monday Sale is Today!

Enter Coupon Code:  CYBERMON2010

Take 20% off your total purchase today - also..... a free fabric flower pin when you spend $35 (my choice, but I assure you it'll be a cute one!).  
And, as always - you pay the shipping on one item - second item ships free.


Monday, October 25, 2010

Are You Thinking Thanksgiving Yet?

Thanksgiving is exactly 1 month away - I can't believe it.  I'm stressed already, just thinking about it.  Because once Thanksgiving hits - you know what, is right around the corner - and I NEVER have enough time to plan, execute, then actually sit back and just enjoy the season.
I guess I like fall so much because we get 3 months of it - I count September, October, and November.  I don't feel so rushed.  Even though in Texas, September is still blazing hot - so it's a bit of a stretch.  But, at least I know cooler temperatures are around the corner.  (Supposed to get up to 90 today!!!  What????!  - Ugh - and here I was thinking I needed a Pumpkin Spice Latte (go here to see my hil-ar-eeee-ass friend "Charles") today - boo!!)
Oh well -

I've been playing around in my fall fabrics, getting ready for another awesome Trunk Show - October Shop & See at my dear friend Jenn's (from Hippie Bliss) house in Fort Worth, on Thursday night, the 28th.
I just can't let that 1970s fabric go!  I love it!  (See, barely a mention when I first found it hiding out in a thrift store in Indiana, but it's one of my favorites, ever!) I've saved every little bitty scrap, thinking I may be able to use it in some project later....  I know it's not for everyone, maybe it's the 1970's born child that I am that makes it feel so familiar to me.  I'm betting that my mother had me dressed in a jumpsuit for elementary school in a fabric similar to this one!
How about you?  Do fabrics take you back to a time in your life?  Or a person perhaps?
So, anywhooo..... whipped up this garland/banner/bunting thingy to hang over the fireplace.  These suckers are verra difficult to photograph, I might add!
I'll have it at the Trunk Show - along with all sorts of goodie, goodies!  If you live near Fort Worth, would love to see ya!!

Sunday, October 10, 2010

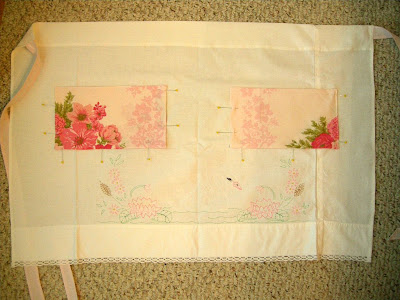
Pretty Vintage Pillowcase Turns Cafe Apron - A Free Tutorial - Super Easy!


Since this is one of my most popular blog posts ever, I am re-posting it!  It was originally posted back in June of 2008.  

DSCN2911
Some of you have asked about easy instructions for a beginner apron. So, here you go!
This one is made from two vintage pillowcases. They are so much fun to use because of the unique embroidery work you find on each one.
Let me know if you have any questions and I'd love to hear from you if you plan to make one, or have one completed.  

Materials Needed:
1 Vintage Pillowcase
2 6"x19" pieces of fabric for pockets
2 2 1/2"x about 40" pieces of fabric for ties (can use upper portion of pillowcase)Vintage Trim - Rick Rack or Ribbon
White Thread
Sewing Machine and/or Serger
Straight Pins
Iron
Rotary Cutter and Mat
Transparent Ruler
Scissors

Instructions:
1. Press your pillowcase using your iron and spray starch.
2. Determine the length for your apron. (Mine is 21") Add 2 1/2" for the waistband. Using a rotary cutter       and transparent ruler, cut across your pillowcase.
3. Determine the width of your apron. (Mine is about 33" wide) Flip your pillowcase over, and cut a slit down the middle. Lay it out flat on your cutting mat and cut to the desired width being careful to center the motif.
4. Hem the sides by serging; zig zagging; or turning under 1/4", press, turning under another 1/4", press, then stitch in place close to the folded edge.
5. At the top of your apron, turn down 2 1/2" towards the back for the waistband and press.


6. Open back out and turn under 1/4" along the raw edge. Press back down.
7. Using rotary cutter and ruler, cut 2 strips of fabric for the apron ties 2"x about 40" (twice the width of your pillowcase works great!).
8. Press under 1/4" on the 2 long sides and 1 short side of each apron tie. Press under another 1/4" on the 2 long sides.

9. To avoid bulky tips on the apron ties, fold the material back out and trim the corners. Fold the short end to make a pointed tip and press. Stitch around the apron ties close to the folded edge.

10. Insert ties into the sides of waistband. Pin in place. Stitch all the way around close to the folded edge.

The basics are done - now it's time to embellish!

11. Cut 2 pieces of fabric 6"x19" for pockets. Fold with right sides together and press. Stitch around with 1/4" seam allowance - Be sure to leave about 2" opening (to turn right side out).

12. Trim the corners and turn right side out. Press well. Stitch opening closed.

13. Pin pockets in place. Stitch around 3 sides close to edge.
14. To create smaller pocket sections, stitch down the center of each pocket.
15. Add desired trim along the bottom using a straight stitch.

Congratulations! You're done!

Let me know if you have any questions- I'd love to hear from you once you complete your apron.


Don't forget to visit Whoopsie Daisies on Etsy for other cool gifts and accessories for you vintage lifestyle!  You can also find Whoopsie Daisies on Facebook, Twitter, and Whoopsie Daisies Days blog.


Monday, September 27, 2010

White Pumpkins?

So - what's your style of fall decoration?  Do you go for all Halloween?  Then, dive into Thanksgiving - or do you just do the Fall/Autumn thing?  Are you a traditional orange pumpkin sort of person?  Or step outside the box a bit with the different colors and shapes?  White perhaps?
All of a sudden, after seeing these ADORABLE little white pumpkin soaps from LilAnnieBell - I've been inspired to make my own white pumpkins.
So here's what I came up with....

I'm off to tackle my bin of fall decorations sitting in the garage right now - thinking it's time to dispose of our "Scarecrow Sally" - she's a bit worse for the wear this year.  I'll have to do it discreetly because if the little kiddies see her sitting in the trash can, they may revolt and decide a rescue attempt!

Monday, September 6, 2010

Indie Craft Show


All in all, I had a successful day Saturday at the Cowtown Indie Bazaar.  These pictures were taken the night before, and now I'm wishing that I had taken a few on Saturday because you could have seen some of the other vendors in the background.  Here is a link to the Flickr pictures if you care to take a look at what other vendors were selling.  I have to say, it was a very talented group of people.   It was really nice to be at a show where everything was 100% Handmade, and 100% Indie.
Thank you to everyone that came out to support me and the rest of my Etsy Fort Worth group.  Mark your calendars for the March 19, 2011 Spring show!
Related Posts Plugin for WordPress, Blogger...